 Windows.
They come in all different shapes and sizes and can really elevate the look of a room. How to dress your windows to achieve the very best look for the style of your home and its decor can be a minefield.
Getting the window dressing right for each room not only maximises the opportunities for light but looks beautiful too. It can make your windows a fabulous focal point for the room.
Is your choice primarily design led or is it all about heat insulation, light control and privacy? Or is it a combination of the two?! Some solutions work better than others and knowing where to start can be daunting.
Before you begin, here are some important factors to consider:
-
- You need to consider the purpose of the room. A living area may need less privacy but will need more light which means more sheer fabrics may be appropriate. A bedroom will need a heavier covering to limit light when you’re sleeping.
- Is your home traditional or more contemporary? Choose a style and design that complements each room.
- One size (or rather style) doesn’t fit all. You don’t need to choose the same option for each space. Look at every room in its own right and choose what’s best for the space.
- Consider the layout of the room. Where is the radiator? Where will the furniture go? For example, when a radiator sits underneath a window, floor length curtains should be avoided. Likewise if you’re planning to put your bed under the window then installing blinds avoids the excess fabric of curtains.
When it comes to window dressing, what are your options?
Blinds
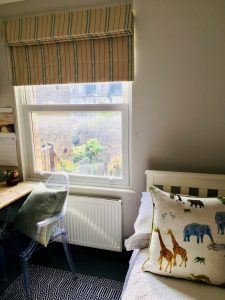
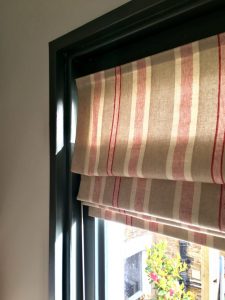 Depending on the style you choose, blinds can help you control the amount of light coming into a room by using sheer or blackout fabrics. Roller blinds can be used in every room in the house, but are especially good for kitchens and bathrooms where you don’t need all that excess fabric. Roman or Venetian blinds give a softer look and if fitted above the window frame, will not block out any light unnecessarily.
Shutters
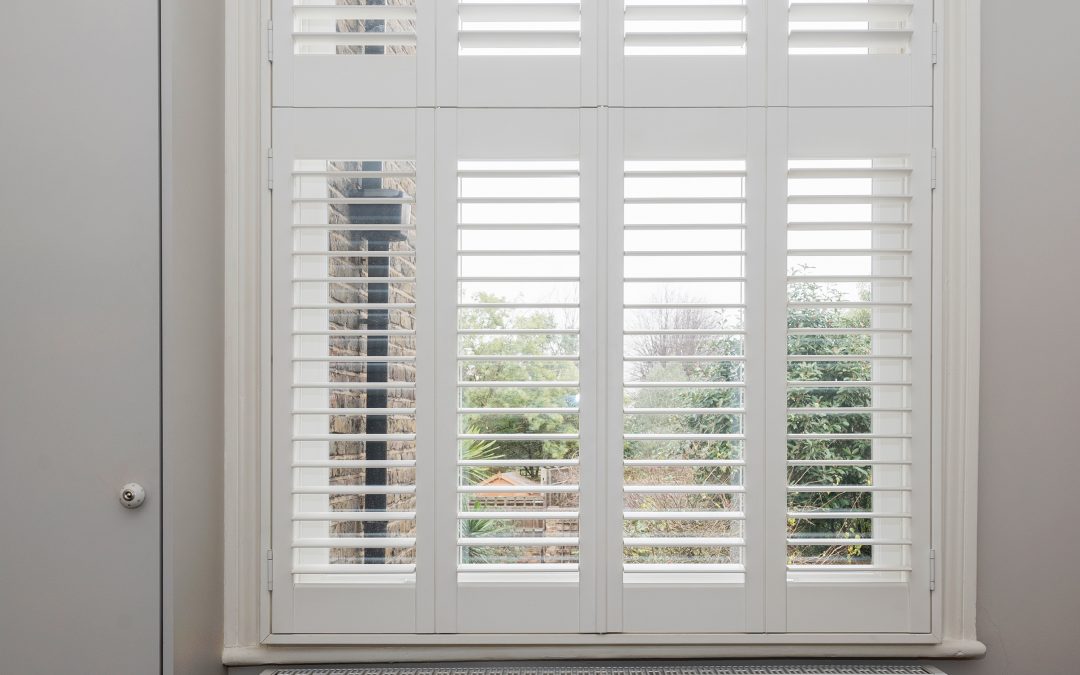
Plantation shutters are an excellent option, maintaining privacy while letting in plenty of natural light. They are effortlessly stylish too. You can choose from full or half height shutters, and a whole host of additional styles and shapes. The range of contemporary shades and materials available for shutters will mean you’ll be able to find something to perfectly suit your scheme. Plantation shutters are ideal for bay windows as they fit each window section perfectly, as well as bi-fold and French doors. Visit www.plantation-shutters.co.uk to see some fabulous styles.
Curtains
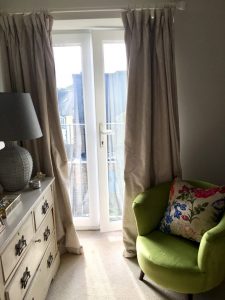
These are a traditional choice and the range of options is huge! For common living areas like living and dining rooms, especially where they’re visible to passers by, sheer fabrics are the perfect choice for privacy. A great way to achieve a very dark bedroom is to dress the window with curtains but also fit a blackout roller or roman blind into the recess of the window. This is certainly a must for a small child’s room.
When it comes to fullness, the ideal is to be 2 to 2.5 times the width of the window. When choosing the fabric, consider what will complement your existing furniture and soft furnishings. Curtains can be a great way to use pattern within the room, or inject the space with colour. Creating a lush look that completes the style and colour palette of the room and frames the windows is what you should aim for.
You can also create the illusion of a higher ceiling by placing the curtain rail higher above the window itself. The ideal is 4 to 6 inches above the window frame to create the impression of height. Your curtain rod should be wider than the window so there’s enough room for the panels to hang on either side of your window (this also helps maximise the width of the window) and curtains should hang all the way to the floor.
For advice on the best window dressing options to choose for your home, seek advice from Light Intervention. We offer bespoke services to help you transform your home by making the most of the available space, light and furniture, fixing ‘wear & tear, decorating with elegant colours and updating fixtures & fittings.
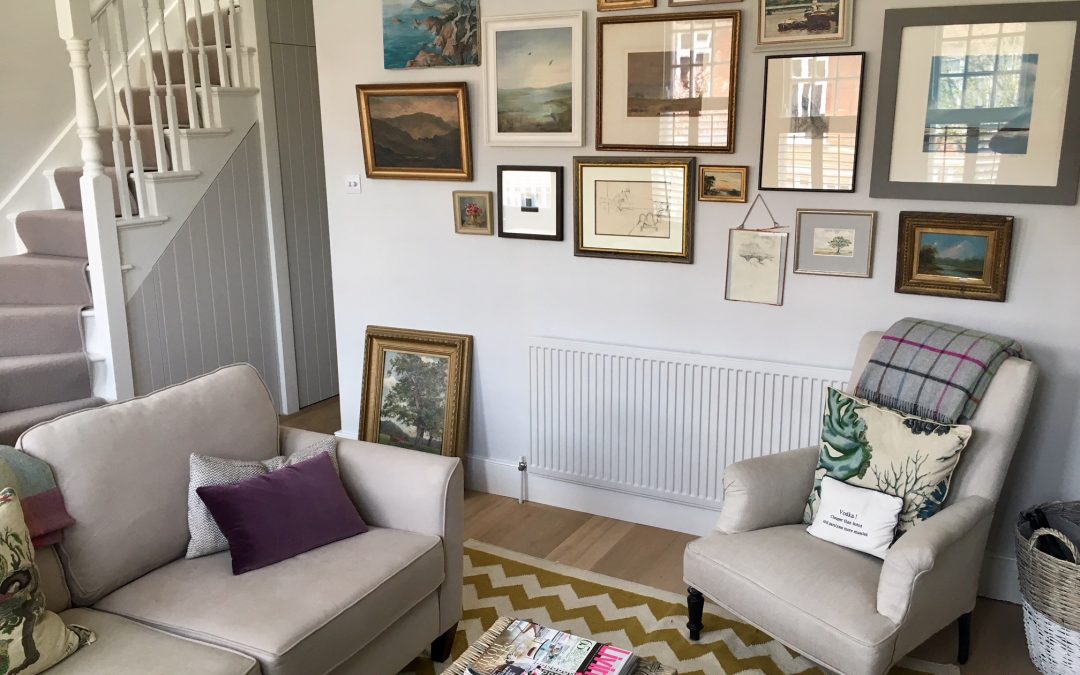
Do you have an empty wall that is crying out for attention?
Is your favourite artwork in need of an innovative way to showcase it?
Or could that living room corner wall do with some interior design TLC?
Then creating your own wall gallery could be the answer!

Wall gallery
Designing a wall gallery is the perfect way to put your own individual stamp on your home. It creates unique visual interest for a room in a way that you can potentially add to over time. A single piece of art isn’t always enough to create an impact, whereas a collection of pieces can truly transform a wall.
A wall gallery enables you to pull together your treasured pieces of art, photographs and other pieces in one central space. Not only a pleasure for you to enjoy but a wonderful conversation starter for guests too.
How do you achieve the perfect look?
Planning
A stunning wall gallery doesn’t happen by accident! Even if you’re not considering a uniform, symmetrical look you’ll still need to plan which pieces sit next to each other to create a cohesive look. Do your research and visit places like Pinterest to get some inspiration. You’ll soon see examples of wall galleries that make a fantastic impact and those that just don’t work.
The best way to plan your own gallery is to choose your favourite pieces and lay them out on a table or even on the floor in an area marked out with tape or string to the exact size of your wall. This way you can step back and double check it achieves the right visual balance. Another good idea is to take photos of each design you try – this makes it much easier to compare how they look to make your decision. You’ll be able to play around with the combination to achieve the design that works for you before you make the final commitment.
You could even create true to size templates of your chosen artwork in plain paper which can then be placed in position on the wall as a final check. This way you can make sure the design not only looks right but fills the space effectively and is the correct height.
Levels and spacing
Remember that not all walls and ceilings are completely straight! You could find when you’re working off a central level that the end result doesn’t look right because your ceiling isn’t straight. Pay particular attention to the ceiling and measure down from there when you’re placing your plain paper templates on the wall. Keep checking that it looks right to the eye – if it looks “off” from the start this isn’t likely to change. To keep the spacing uniform between each frame or piece of artwork, cut out some strips of card and use these to mark out the space between each item. There’s less chance of error and no need to keep measuring out each time.
Design for life
Creating a design that works visually is key. When using identical frames in your gallery a uniform design works well. If you’re creating a look that’s more haphazard then it’s a good idea to anchor your wall gallery with one or two large pieces that you place first and then work your other pieces out around this. You can also ground your gallery with a piece of furniture – placing the design above a bed, dresser or console table would achieve this.
For a more eclectic feel, aim for a mix of frame styles that are placed together in various positions (a mixture of portrait and landscape). Choosing a colour palette creates synergy and makes the gallery look cohesive. You can take inspiration from items in the room such as soft furnishings, rugs or even the main furniture pieces to choose your colour palette. The wall gallery can potentially be expanded upon with new pieces over time, as long as you keep the balance right.
Wall gallery
It’s all about you!
Remember that your wall gallery is personal to you, your chance to reflect your personality within your home. Creating a design that works for you and makes you feel happy when you look at it is what it’s all about.
If you’re unsure how to make a wall gallery work for you then Light Intervention can help. With years of experience in interior design we know just how to achieve a look that works visually and maximises the available space.
 I hope I’m not about to jinx things but fingers crossed Spring is on its way, and with it comes the time of year when many of us turn our attention to home improvements. Loft conversions have year on year become increasingly popular, especially in London where properties are not only still in high demand but even with the down turn in the market, remain the highest in terms of value across the whole of the UK.
So for many property owners, heading upwards rather than moving out makes both economic and practical sense. The amount of money you can save on stamp duty alone can make it the most viable option if you feel you need more space. There is also some comfort in staying in a property you love but making it even better.
Once you’ve made the decision to convert your loft space, achieving the best design for your space is key.
Here are our highlights to focus on when you’re playing the conversion game:
Planning permission or no planning permission, that is the question!
In most cases a loft conversion sits within what’s known as “permitted development” and doesn’t require planning permission. If you’re extending or altering the roof space which causes the conversion to exceed specified limits and conditions, then you may need to go through the planning process. Conversions to flats does not fall under “permitted development” and therefore will require planning permission.
Don’t let this put you off from designing your ideal space though. It could be worth going through the necessary channels to ensure that your loft conversion gives you the space that works best for you.
Remember that it’s a one time investment so getting it right is paramount. Whatever you decide, the work will always need to meet current building regulations. The work is deemed to be a “material change of use” so minimum safety standards are required.
Maximising your loft space
There are a number of different options when it comes to loft conversions, each of which has their advantages (and disadvantages!)
- Rooflight conversion: this uses skylights located within the roof itself and generally keeps within the existing roof structure. It tends to be the most affordable option but can mean the usable space is limited because the room is contained within the original roof height. You may end up with less usable space because so much of it won’t be at head height.
- Dormer window extension: this tends to be the most popular choice, albeit a more expensive one. The volume of the roof is increased allowing for vertical windows and doors, which creates full head room and more options when it comes to staircases. When added to the back of the house there is generally no need for planning permission but it may be needed for changes to the front elevation of the property.
- Mansard loft conversions: these require the most construction work and in almost all cases will need planning permission because they change the existing roof structure of the property. They create the maximum amount of living space as they extend the entire roof space, the end result being the creation of a flat roof with the back wall sloping inwards at an angle of 72 degrees.
To make the right decision, think about the ultimate purpose of the space. Is it going to be a new bedroom (or two) in which case you’ll need a bathroom up there too. If that’s the case, the location of existing plumbing in the house can have a big impact on the cost in terms of where to locate your loft bathroom. And it’s also worth remembering that the loft space is at the top of the house so heating and ventilation is key to avoid being too hot in the summer and warm enough in the winter.
Time to call in the experts!
When it comes to the design of your loft conversion there are two main options: you can either engage an architect to produce drawings of the project, creating a bespoke design to exactly match your needs. Alternatively you could choose a design and build loft conversion specialist that will have their own in-house designer and engineer in their team. They tend to call upon standard design details and solutions to create your space. Both options will ensure all legalities and regulations have been covered within the design. They will both be able to make recommendations according to the specific nature of your property – considering elements such as the need for Party Wall agreements with your neighbours, lowering ceilings and any issues with head height above staircases. You’ll ultimately have the peace of mind that your project covers all angles.
With both options however, never be afraid to push the boundaries and make the space work for you and have the wow factor.
Nailing those practicalities
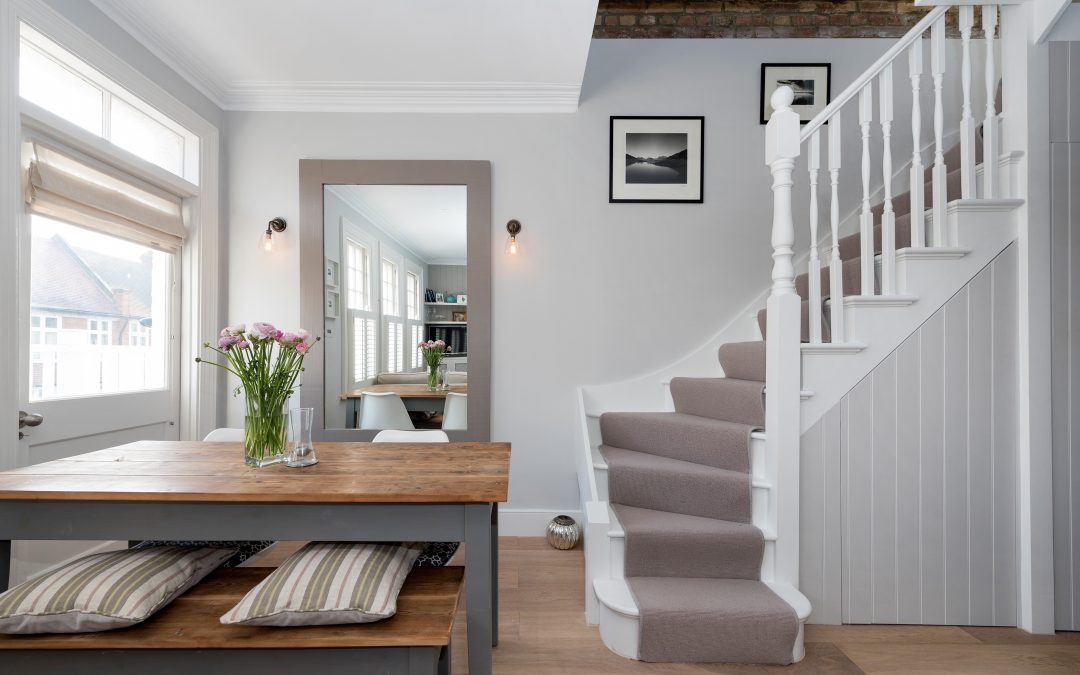
Designing a loft space is much more than simply creating a new usable space in your home. Think about some of those practicalities that will be so important once it’s in place and being used every day. Where will the staircase be positioned? This is vital as the correct design will have the least impact on your storey below. Will the space need extra soundproofing? Just remember that its original purpose was for storage so installing extra soundproofing may be a wise move, especially if the room below will be someone’s bedroom. Think very carefully about areas you may not even have considered: where is best to place the radiators? How many electrical plug sockets do you need? What are your lighting choices? It’s one of the few times you get to choose and design these elements yourself so put real thought into just how you will be using the space.
Going bespoke for maximum effect
The best way to utilise all the nooks and crannies within your new loft conversion is to bring a carpenter on board to design wardrobes and storage cupboards that fit exactly within the dimensions of the space available. You may also need to consider space saving options when it comes to bathroom furniture, investing in smaller hand basins and baths to fit into a confined space. An excellent way to maximise natural light is to incorporate transparent materials or pocket doors into the design.
Light Intervention offers an architectural design service which can assist you with all the above and give you options and ideas on how best to utilise space and give it that wow factor.
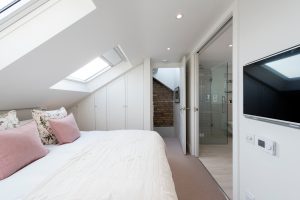
Loft conversion

 Windows.
 Depending on the style you choose, blinds can help you control the amount of light coming into a room by using sheer or blackout fabrics. Roller blinds can be used in every room in the house, but are especially good for kitchens and bathrooms where you don’t need all that excess fabric. Roman or Venetian blinds give a softer look and if fitted above the window frame, will not block out any light unnecessarily.


 I hope I’m not about to jinx things but fingers crossed Spring is on its way, and with it comes the time of year when many of us turn our attention to home improvements. Loft conversions have year on year become increasingly popular, especially in London where properties are not only still in high demand but even with the down turn in the market, remain the highest in terms of value across the whole of the UK.